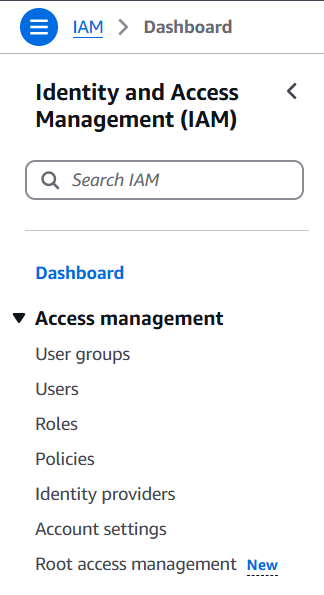
Integrating AWS Environment

Create an Access Policy in your AWS Account.

  1. Log into AWS account and select IAM (Identity and Access Management) from console
  2. Go to the policies tab and then click on create policy.
  1. Select Create Your Own Policy.
  2. Click on JSON and Add policy document here
  3. Update ARN for services in policy (S3, SQS, Cloudwatch Logs).
  4. Click on Review policy.
  5. Correct errors (if any)
  6. Name policy.
  7. Give a brief description about the policy.
  8. Click On Create Policy.
  9. Check for New Policy Created in Customer managed in Policy type.

Create Third Party Access Role

  1. Go to IAM(Identity and access management)
  2. Select on Role.
  3. Click on the Role tab.
  4. Select role type “Another AWS Account”. 
  5. Enter Cloudlytics account number 891776519288 into Account ID.
  6. Click on options below and then Requires external ID.
  7. Then enter the External ID  (NOTE: Copy the External ID given on cloudlytics console. It will be a secret token between you and Cloudlytics to access your AWS resources as per the access policy. Uncheck Required MFA checkbox.
  8. Click on Next Permissions.
  9. In this step we have to attach the Policy that we had created previously.
  10. After selecting the policy in Customer managed in Policy type go to the next step.
  11. Check for already policy created in Customer managed in Policy type.
  1. Click on Next Review.
  2. Give a Role name.
  3. Give proper Role description.
  4. This is the step of review, Review all details carefully.
  5. Click on Create role.
  6. Check for successful Role creation.

Create Credential in Cloudlytics Account.

  1. After successful creation of a role, let’s create credentials in Cloudlytics account so that we can access your AWS account.
  2. Login to Cloudlytics.
  3. Go to the Credentials tab.
  1. Click on Add New Credential or “+” button.
  2. Now you have to enter Role ARN and tag for Credential.
  3. Here, role ARN is nothing but the Amazon Resource Name ( ARN ) of the Role that we have created.
  4. To get the ARN of the role go to AWS Console
    1. Then Go to IAM(Identity and access Management)
    2. Click on Roles
    3. Select role that we have created previously. Here you will get the Role ARN of the role.
  1. Now to get an External ID, go to the Trust Relationships tab.
  2. (NOTE: External ID in AWS Role and Cloudlytics Credential must be same)
  3. Give a tag for the credential.
  4. After filling all the details Credentials are now ready.
  1. The credential can be used to configure multiple streams and will allow Cloudlytics to read logs from your AWS Account.

Table of Contents

A Trusted Security Partner of Global Businesses

Simplify Management of Your Cloud Operations With Us.

Living on the Edge LOGO

We are now live on AWS Marketplace.
The integrated view of your cloud infrastructure is now easier than ever!