To create the access credentials please follow the following steps:
- Log in to the Microsoft Azure Login portal
- Navigate to the Azure Active Directory
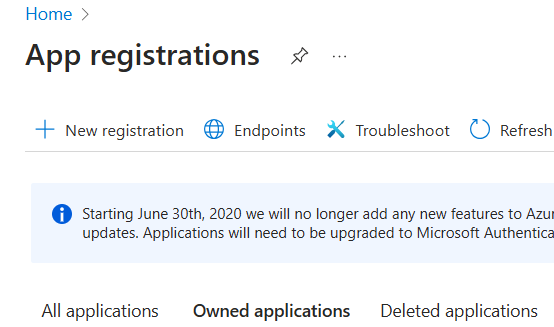
STEP 1 : Create App Registration
- Click on App registrations and Register a new application.
- Provide the Name “Cloudlytics Application”
- Select your account in the Supported account types section
- In redirect URI, Select the WEB from the drop-down menu and enter any valid URI example (https://cloudlytics.com) and click on Register.
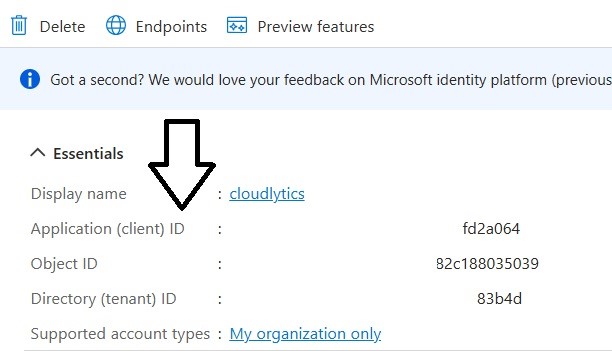
- Once the application is created copy the Application ID and save it and Note it Down
- Now, Provide necessary permission for the application
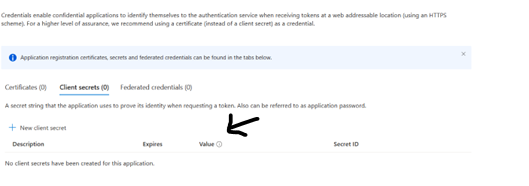
STEP 2 : Create Secret Key for the App Registration
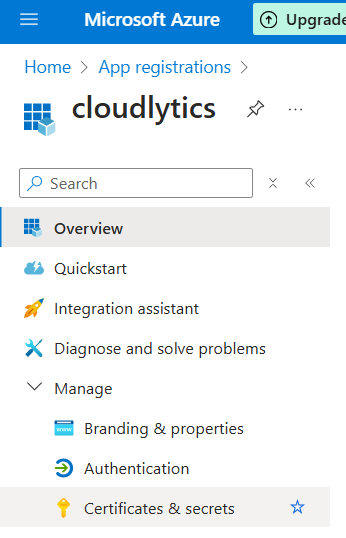
- In the same blade, click on Certificates and secrets under Manage
- Generate client secret by clicking + New Client Secret Under Client Secret
- Provide Description, expires as Never, and click ADD
- Copy the secret value as soon as you save the changes
STEP 3 : Copy Directory ID for the Tenant
- Click on Azure Active Directory > Properties
- Copy Directory ID and save it for later use.
STEP 4 : Assign Reader Role to the subscription
- Navigate to Subscriptions on the azure portal > click on subscription to monitor > Access Control(IAM) > +Add role assignment.
- Select contributor/Reader role for the application and save changes”.
STEP 5 : Share Details mentioned below with Cloudlytics
- Directory ID
- Application ID
- Secret Value
- Cloud Account (Subscription) Name.